Solar system model for your classroom ceiling
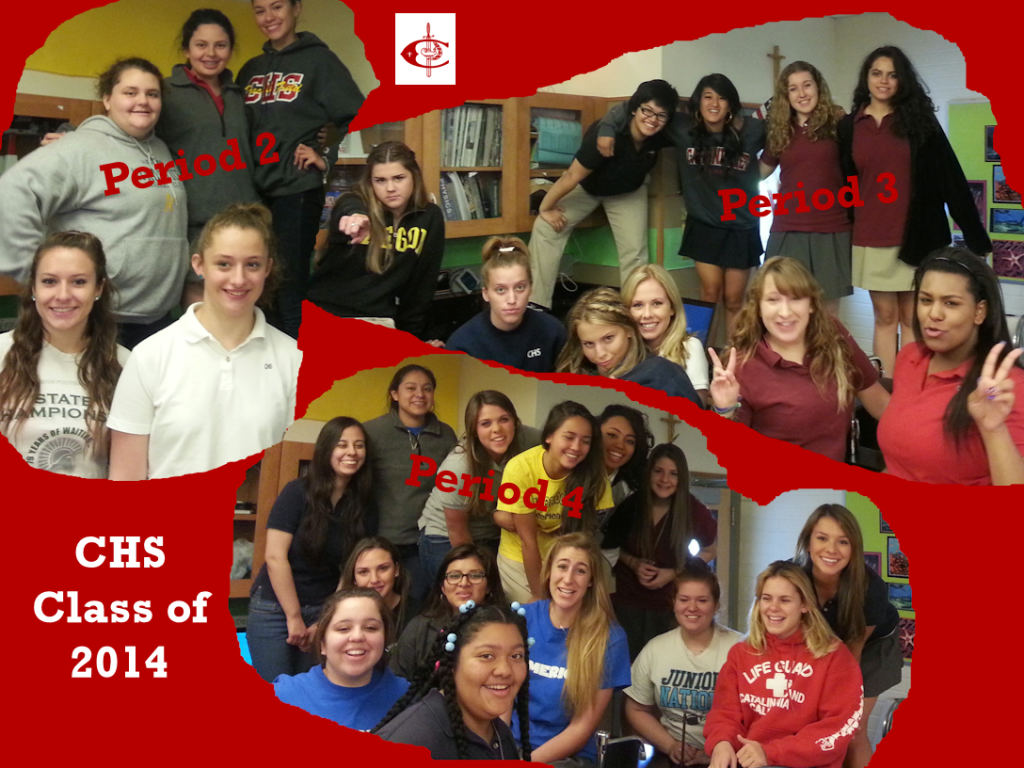
In my physics classes at Carondelet High School, I had mostly seniors and a few juniors in each class. Seniors graduate two weeks early, so I’m always looking for a project for the juniors to work on during this time (the juniors take their physics final with the seniors). In the spring of 2013, I decide to create a model of the solar system on the ceiling in my classroom (credit). Here’s how we did it:
Planning the model
I have three physics classes, but only one ceiling, so they were going to have to collaborate “across time.” We used a Google document to share ideas and progress from one class to another, and each class had a “recorder” who took notes about our discussion.
How big?
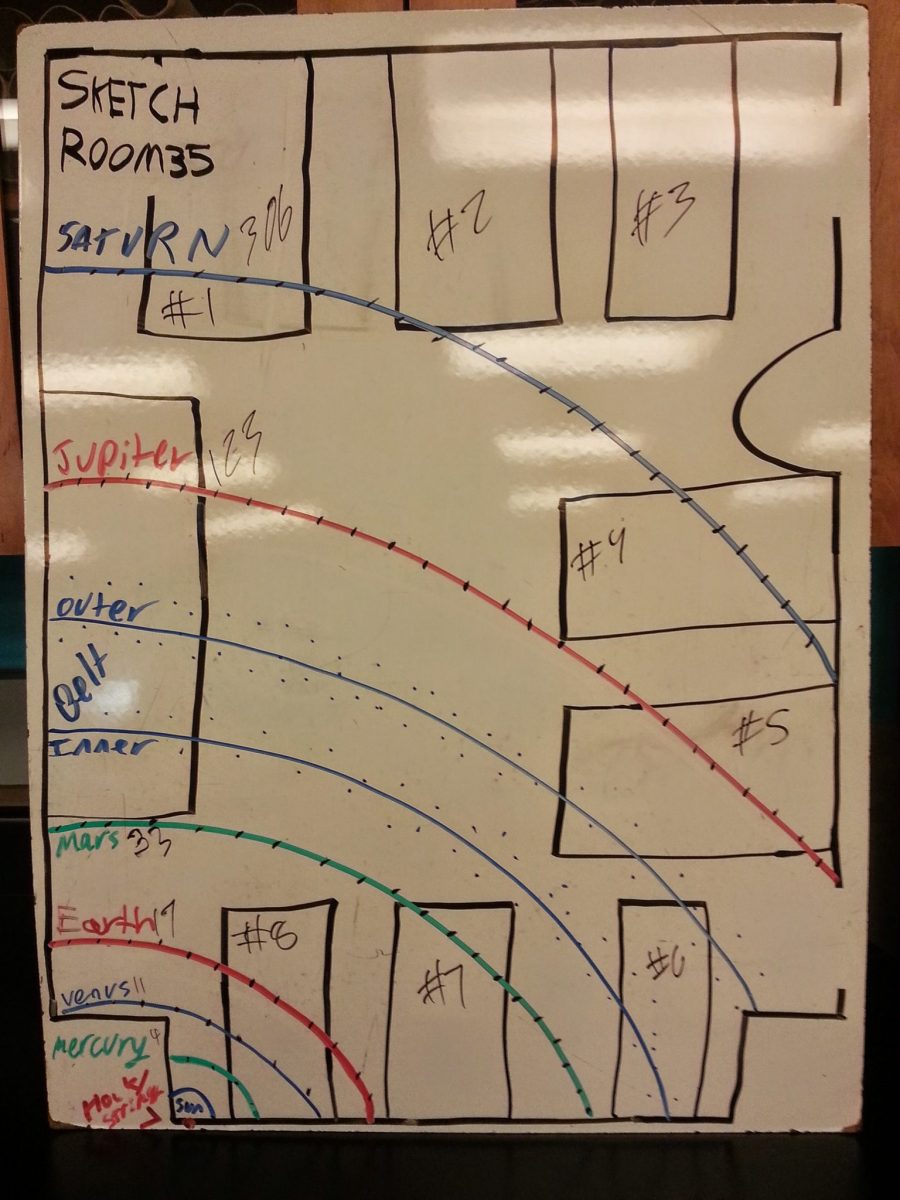
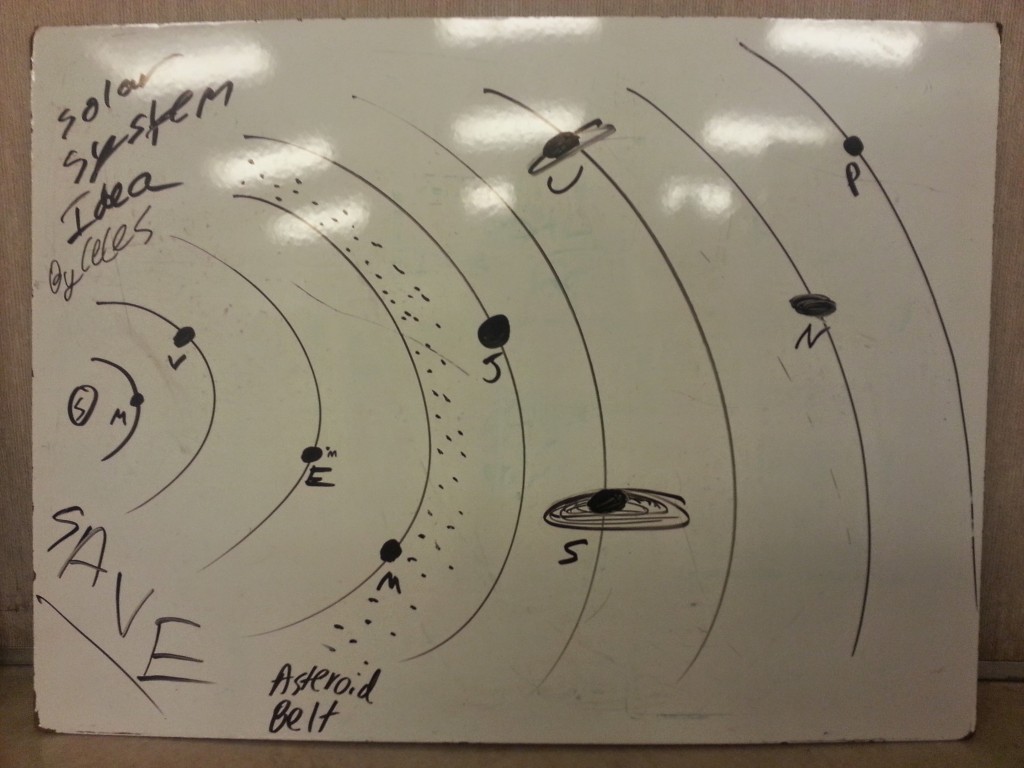
Before I first presented the plan, I did a quick measurement of my classroom and approximation of the size of the orbits, to make sure it was realistic to fit all the planets in my classroom. I, being up on the current description of planets, left out Pluto, since it no longer is a member of the planet club. This generated a scale where Venus had a fairly small orbit, but it was visible.
When I presented this initial proposal to the students, they said “We can’t leave out Pluto.” This lead to a discussion about what makes an object a “planet,” and why Pluto is not in the club any longer (more info on that here.) After discussing the size of the orbit if Pluto and the Dwarf Planets were to be included, we started looking outside my classroom. There are two science classroom next to my classroom, followed by the library. We got out tape measures, and determined that if we put Pluto and the Dwarf Planets at the far wall in the library (turns out, just above the book mentioned in the footnotes), we could fit the first six planets (Mercury through Saturn) in my room, the seventh (Uranus) in the next classroom, and the eighth (Neptune) in the last classroom.
Orbits vs planet size
With the size of our model determined, we calculated the length of the orbits, then set off to determine the radius of the planets themselves. Upon calculating planet sizes, earth turns out to be about the size of a spec of dust…and that just won’t work. So, we realized we were going to have to use one scale for the orbits, and another for the planet sizes. Setting Jupiter at 2 meters (about as big as we could reasonably get), we calculated the size of the other planets, and the earth and the rocky planets came out to be reasonably visible sizes.
Orbits
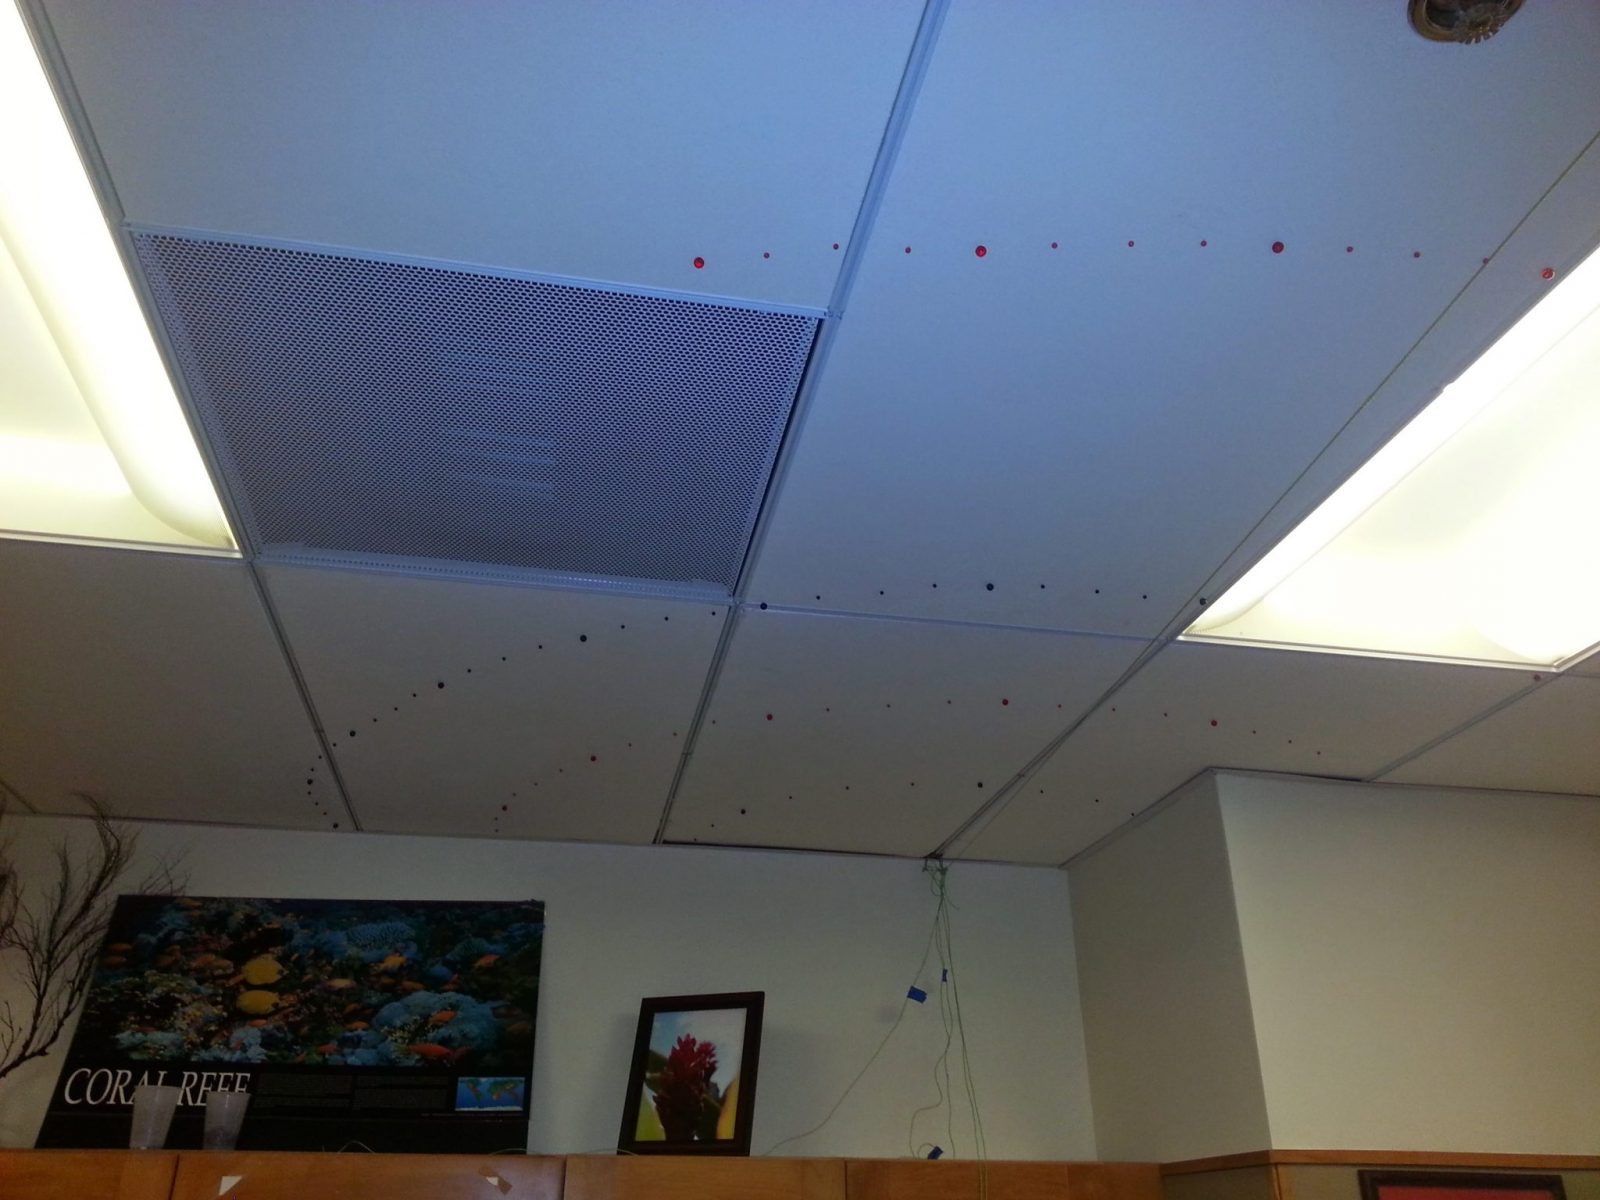
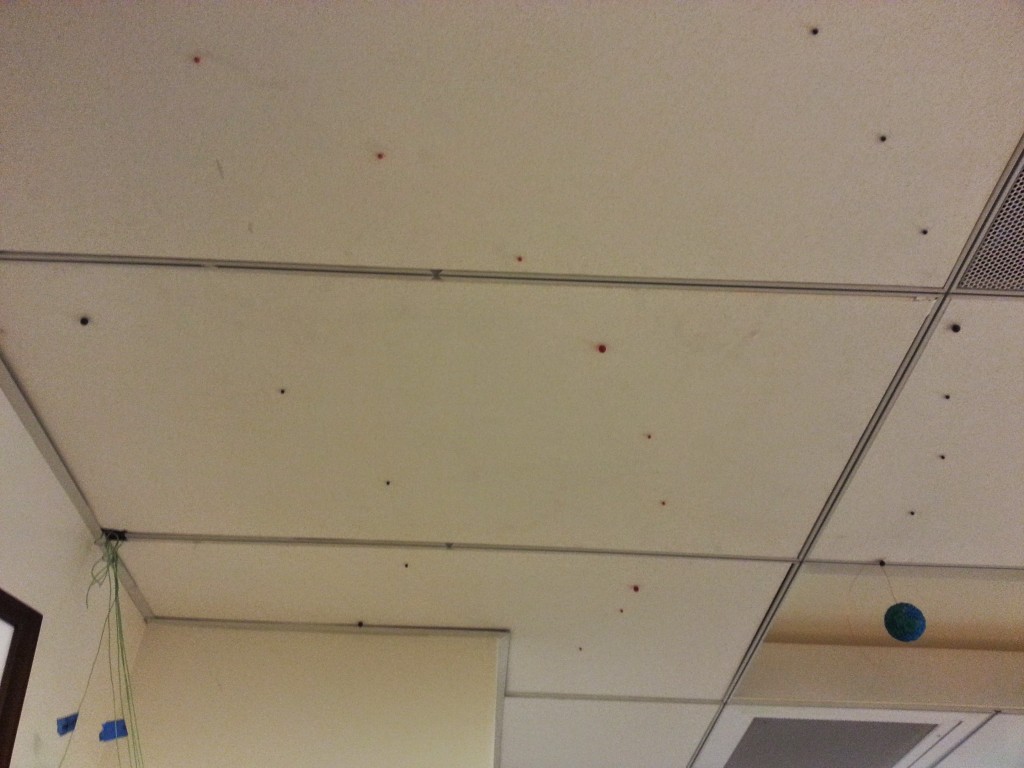
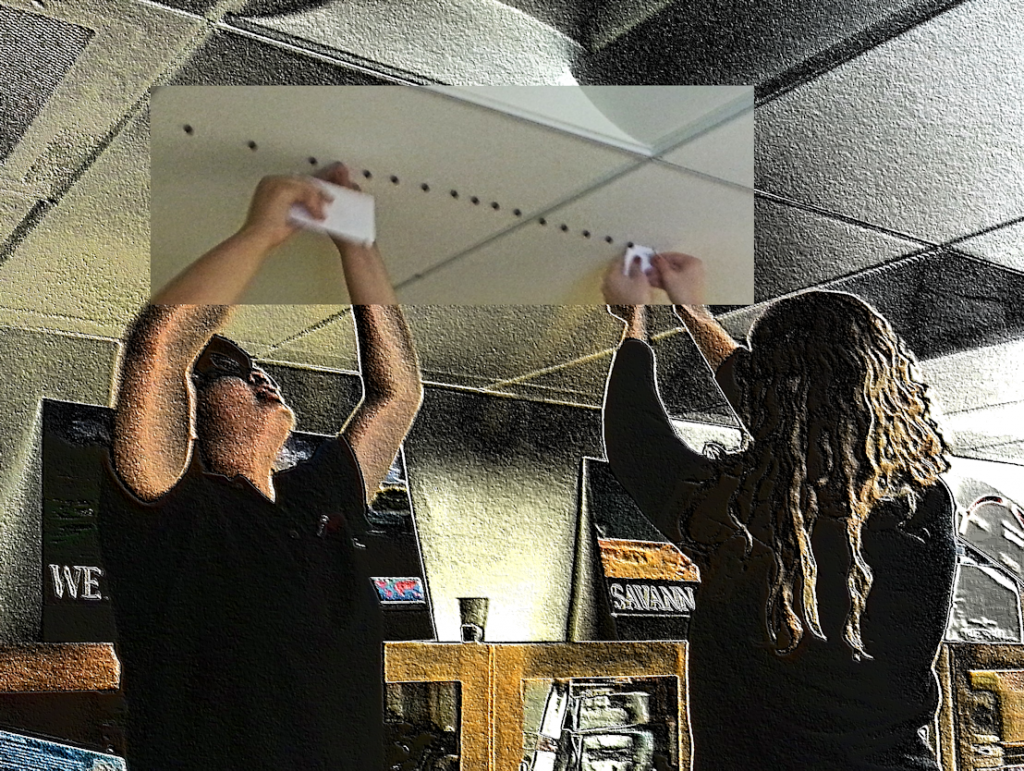
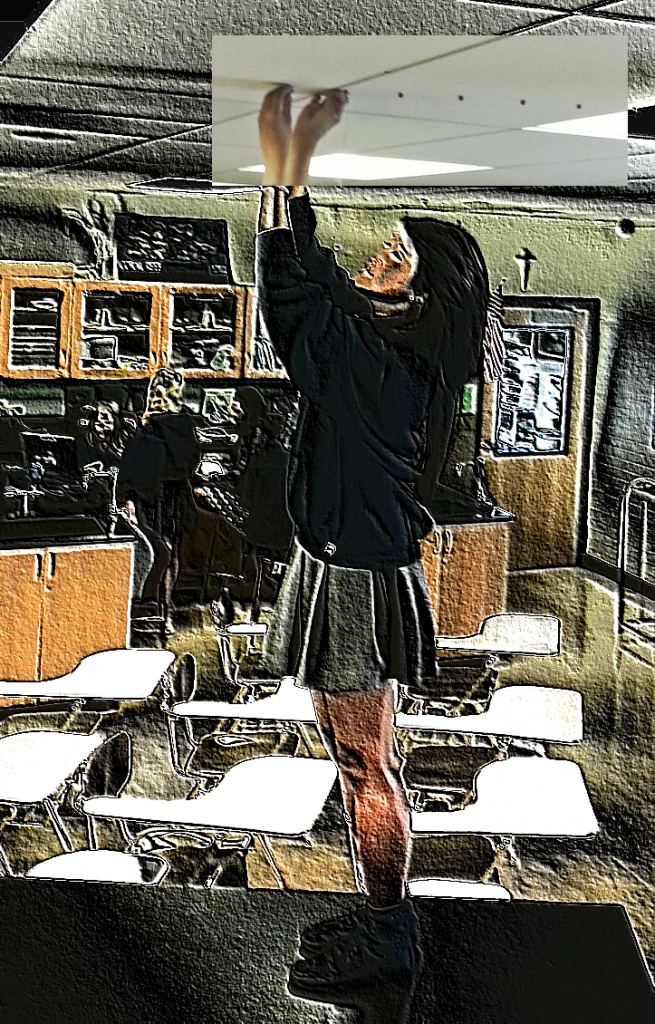
Once we had the model-length of our orbits, students cut string to the appropriate length. They then measured the distance the planet would travel in a given period of time–large pins would be placed showing the distance the planets travel in one month. For the rocky planets, however, this distance was long enough that we added smaller pins to represent the distance the planet travels in one week. Students held the strings with one end tacked at “the sun,” and placed pins in appropriate distances apart along the orbits.
Rocky planets models
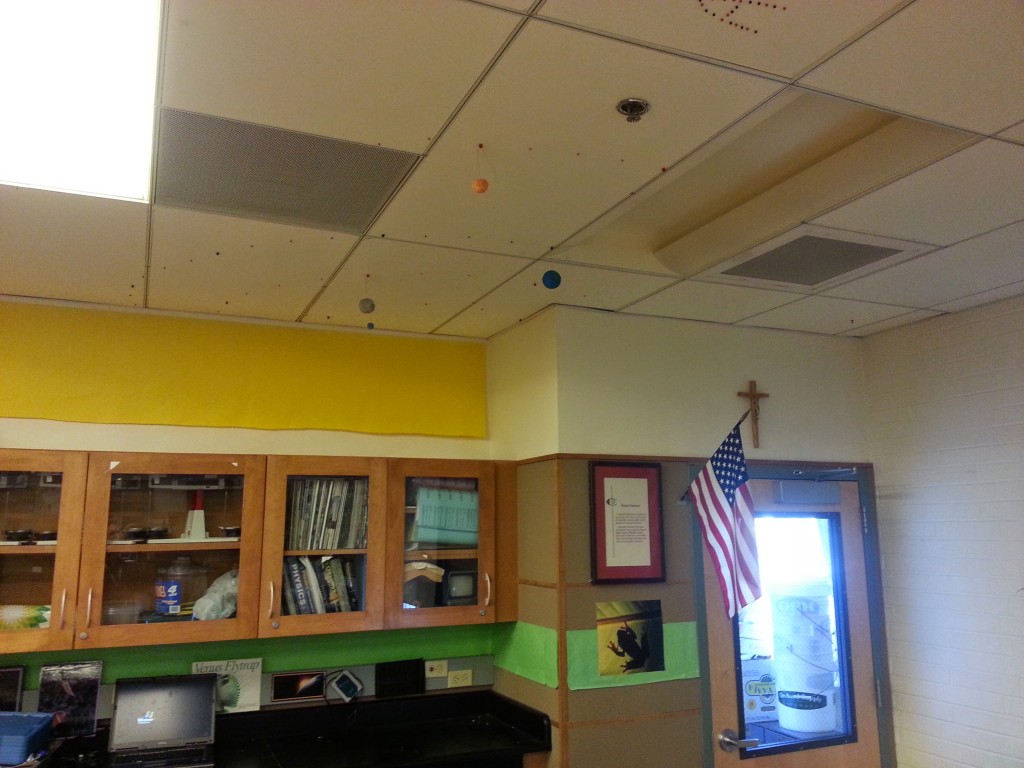
For the rocky planets, we used foam balls and shaved them to the appropriate sizes. Then students researched the colors of the planets, and painted approximate representations of the surfaces.
Asteroid belt
To demonstrate the location of the asteroid belt, students placed pins in the region of the belt, spelling out “Asteroids” with the pins.
Gas giant models
Since we can’t really fit a two-meter diameter ball in the classroom, we ended up creating only portions of our gas giants, which required calculating the radius of the portion of our 2 meter ball if we only wanted it to hang about 0.30 cm below the ceiling (assuming that the rest of the planet is above the hanging ceiling tiles). We used chicken-wire to create the shape of the planet, then used papier-mâché to create the surface of the planet.
The students had fun visiting the other classrooms to place Uranus and Neptune dots and models in those rooms, with students in those classes asking “What are you doing?” (I, of course, had arranged with permission from those teachers ahead of time.)
Conclusions
- The model does a great job of showing the vastness of our solar system, as well as the relatively small amount of that space that is occupied by the rocky planets.
- Because we had to use two scales, there is potential for students not being able to truly understand how small our planets are compared to the distance between them.
- Since we put all the planets in one line (almost), students may miss the concept that, for example, Mars is sometimes further away from us than Mercury (when it’s on the other side of the sun).
- This model created a clear visual of the speed of the planets. Students can clearly see that the inner planets are moving faster than the outer planets.
Trying this in your classroom
- I purposely have left out much of the calculations we did, so if you decide to build this in your classroom, your students won’t just be able to “Google” the answers (plus, your classroom/school dimensions will likely be different from mine).
- If you want to create a model in your classroom, it will work best if you have ceiling tiles you can push pins into 🙂
- My advice is to ask for permission from your administration before you undertake this project. Mine was quite excited about the project, and I was sure to invite them up during the process and when it was done.
- This makes a great demo for Back to School night, explaining to the parents how you use it in your class.
- I also calculated where the nearest star would be, and it turns out it’s in Sacramento, about 50 miles away from my classroom!
Feel free to add comments below if you have questions or suggestions, or email me directly.
Gallery
Here are some photos of the construction progress, and the rocky planets. Unfortunately, I can’t find any photos of the entire classroom showing the gas giants 🙁 If I find them, I’ll add them.


Google map
I also created a Google map that shows the solar system in a slightly larger scale in the neighborhood of Carondelet:
Footnotes:
- I had seen a similar model before in another school, but am sorry to say I can’t credit the teacher because it’s been too many years and I can’t remember where I saw it.
- For further reading on Pluto, I recommend How I Killed Pluto and Why it had it Coming, by Mike Brown. Available in print, or through Audible.


I do a similar thing on our hallway, its just over 100m long. With the Sun the size of a pingpong ball, you can get the planets and orbits to the same scale. The terrestrials are tiny, as you observe– specs of dust, Jupiter is the size of a large ball bearing. We can pace it off with a rope I marked at 1m intervals. The entire solar system– flecs of dust spread out (way out!) along the hallway. Next solar system over is a building the size of ours, the other side of Indianapolis (we’re just north of Baltimore). Nothing in between.
“Space is big
Space is dark
Its hard to find
A place to park.”
Alex, thanks for sharing. I like the idea that the next solar system is 600 miles away.
I saw one activity where you take a piece of paper (any size) and fold it in half…that’s where Saturn goes. Fold it in half again, and that’s where Jupiter goes, then Mars, Earth, etc. Nice hands-on modeling. Here’s an example: https://www.nisenet.org/catalog/exploring-solar-system-pocket-solar-system