180: Day 18-19: Introducing Motion Maps
OK, I’m cheating a bit, but I do teach the same classes on Thursday/Friday this week.
I tried a new technique this year for introducing motion maps. I stood at the board and asked a student to call off every second. I started a car moving at the base of the boards (my new classroom has floor-to-ceiling whiteboards), then draw a mark at the location of the car each time the student called out a second. Asked students what the dots told them, and they replied that since they are the same distance apart, the car is going at a constant velocity (yay!!!).
 Next, I put the same car at the right side of the board and, with my student calling time, marked the position of the car going in the opposite direction. Asked class what the dots tell us–and they said it’s going at the same speed.
Then I asked ‘what’s missing’ from the diagram, and, with some false starts, they decided that direction was missing. ‘How could we identify direction?’ ‘Arrows!’ they answer. So, I add arrows to the drawings.
Next I bring produce a faster car, and mark it off.
'What's the difference?'
'It's moving faster!'
'How do you know?'
'The arrows are further apart!'
Wow, almost there.
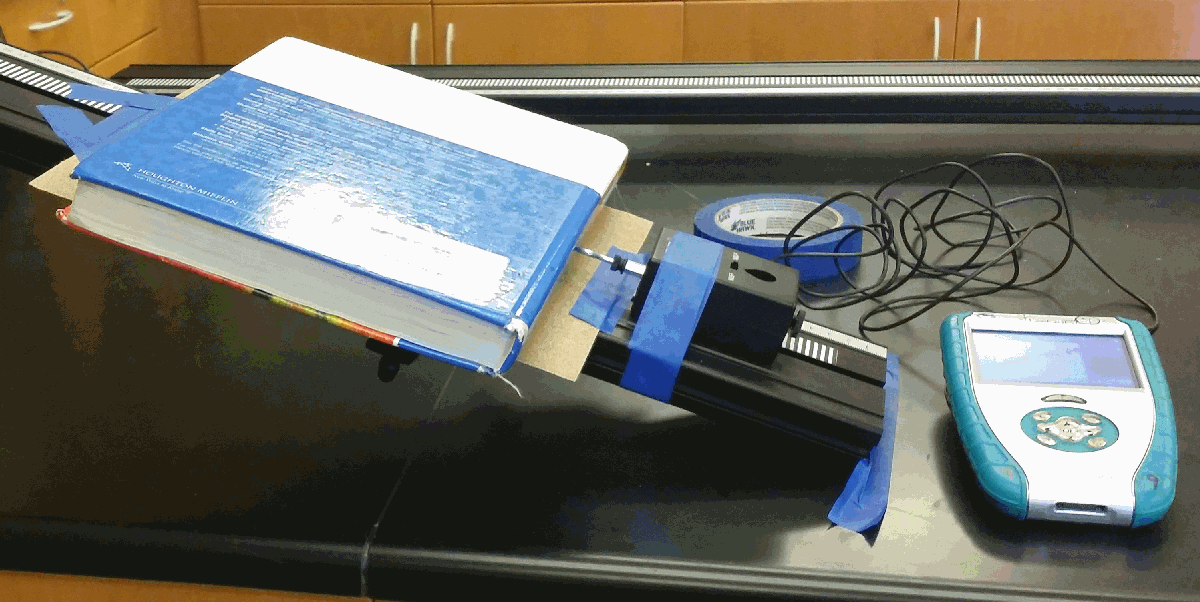
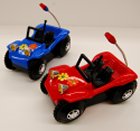
Finally, I take place a 2’x3′ whiteboard perpendicular to the wall (classroom has small slots between vertical panels that are just perfect to hold these whiteboards) and start a car towards it. These “Tumble Buggies” are designed so when they reach a wall they flip over and start in the reverse direction. While I’m marking the on the board, the car takes 2-3 seconds to flip, and I have a few marks on top of each other (I purposely put them not quite on top).
'How long did the car not move forward or backwards?
'Three seconds.'
'How would you show a dot for an object that is not moving?'
'Huh?'
'How would you show a car with a very slow speed?'
'A very short arrow.'
'So, how would you represent an object that is not moving?
'A dot with no arrow!'
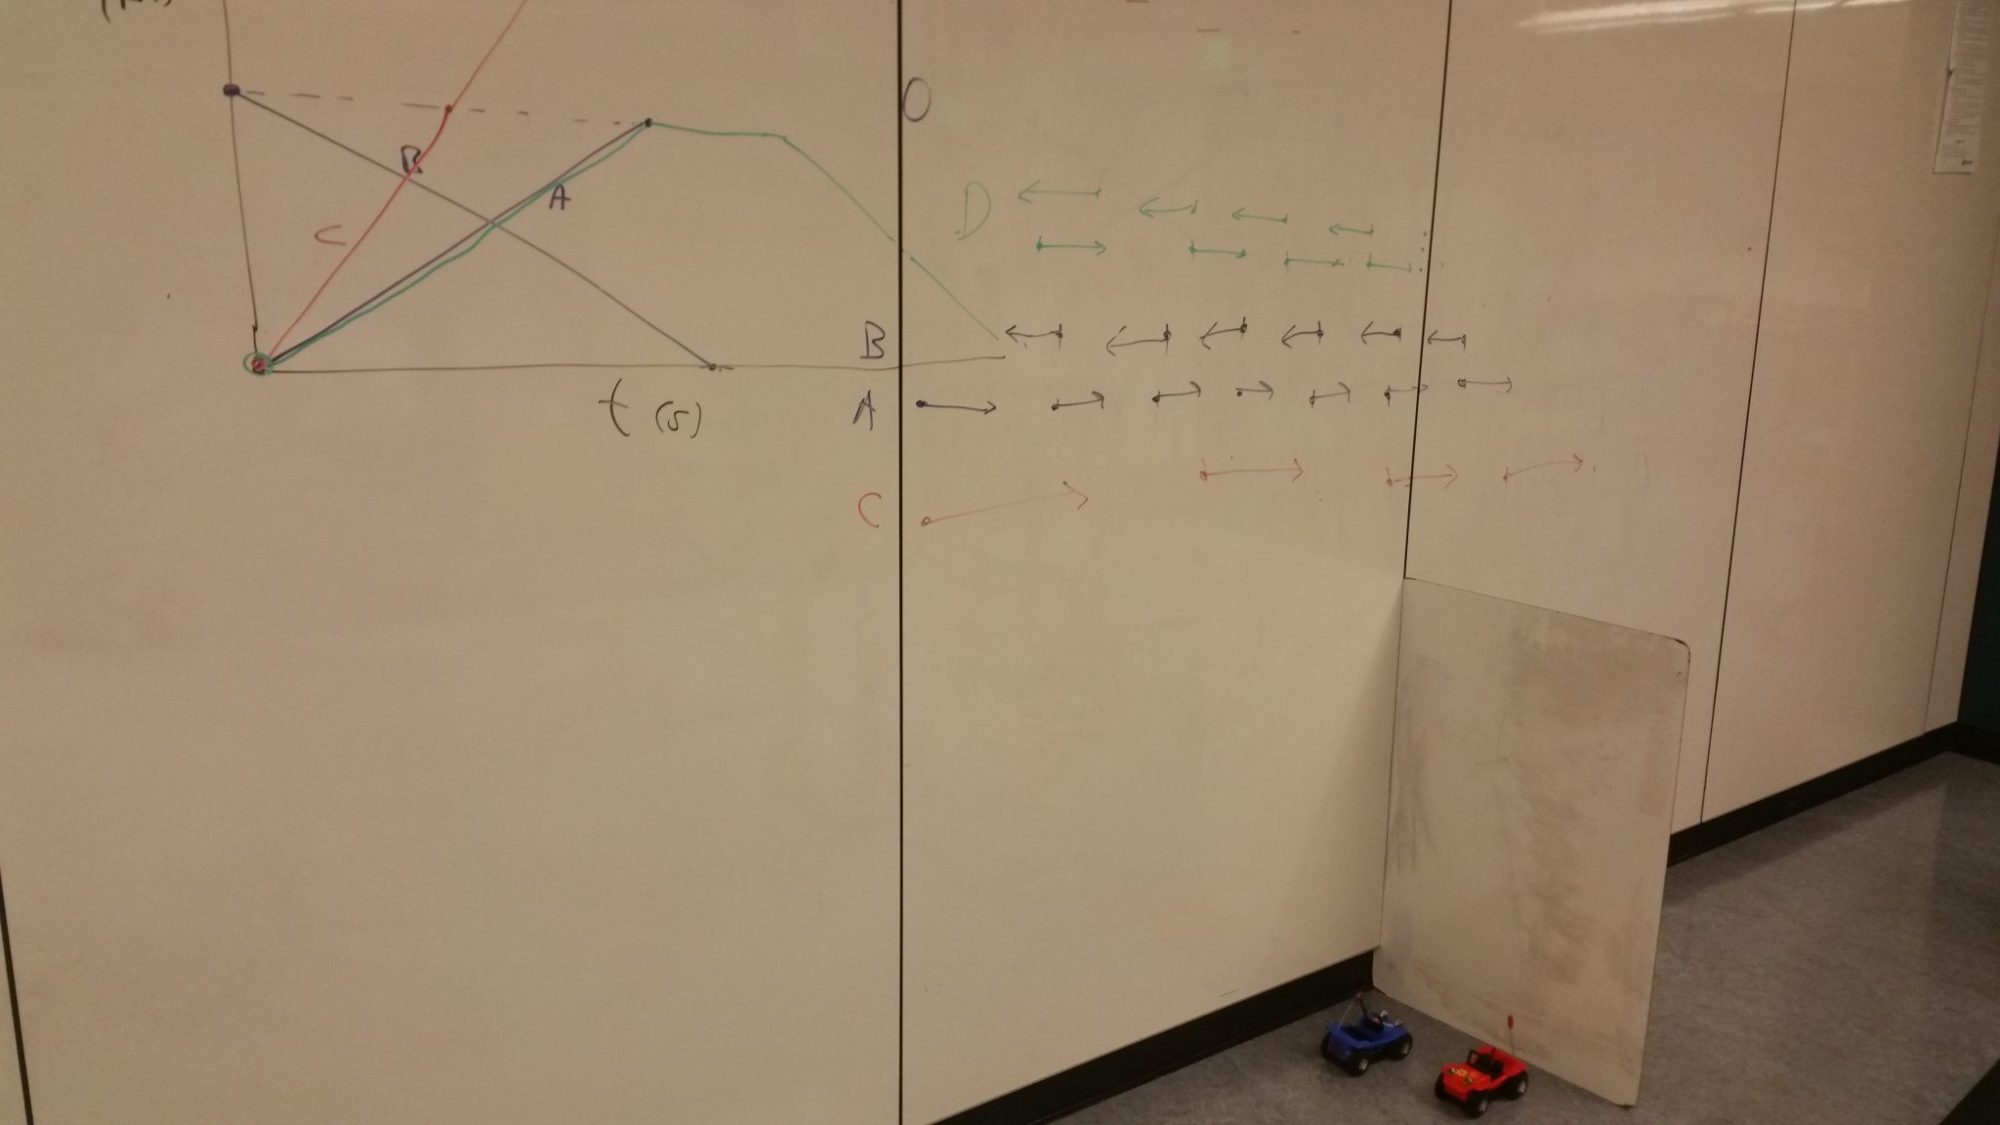
I then ask them what the graph of these would look like, and we draw it on the board, starting with the first car and soliciting questions after each graph.
Finally, I ask students to describe the motion of each car in words.
'A is moving forward slowly.'
'B is moving backwards at the same speed.'
'C is moving faster.'
'I what direction?'
'Forward!'
'D moved forward slowly, stopped for a few seconds, then returned to where it started.'
After this, it’s off to the “Motion Maps and Position vs. Time Graphs” worksheet (I also have my revised version of the traditional Modeling Instruction motion map reading online for them as a back up).
“Notes for next time”
I think I’ll roll one of my tables up against the wall, to make it easier for all students to see. Someone Tweeted about a “Fridge Rover” can that can roll on metal vertical surfaces, but I find having the car able to turn around more important that having it roll on the wall 🙂