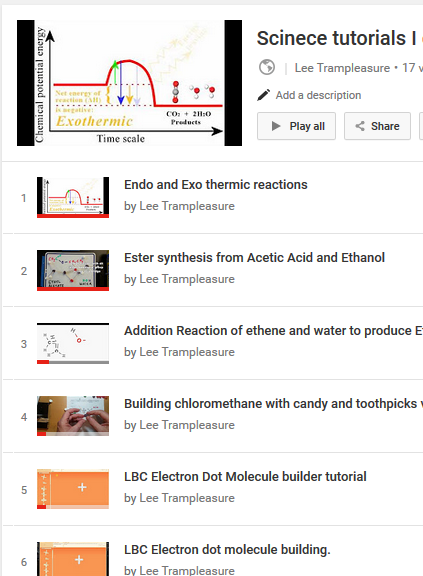
How I generate science tutorial videos
 I have been making many video tutorials for my science classes in the last few years, and some folks have asked how I create them. I have gone through a process of changes, so I thought I’d present the options I have used to create them.
After you read this, please leave any comments or questions in the Comment section at the bottom of the page.
Deciding on how to generate your video
Here are the three ways I have used, in order of complexity:
- Take a video of you writing on a whiteboard.
- Use a screen capture program like Flashback Express (I think they have only a Windows version, but I’m sure there are Mac products that will do screen video captures). This will allow you to record the screen as you move things around on it, and it can record your voice as you do.
- Use a video editing program, and place your images in it.
Outline and images
As any good teacher knows, you need to outline your project before you start, so I won’t spend a whole lot of time on that, but:
- Be sure to plan out the images and wording you want to use.
- Don’t be too stuck on your plans. As you start to develop the video, you may find some things just don’t work well as video.
- Key your focus on your learning objective for the video: Don’t get sidetracked.
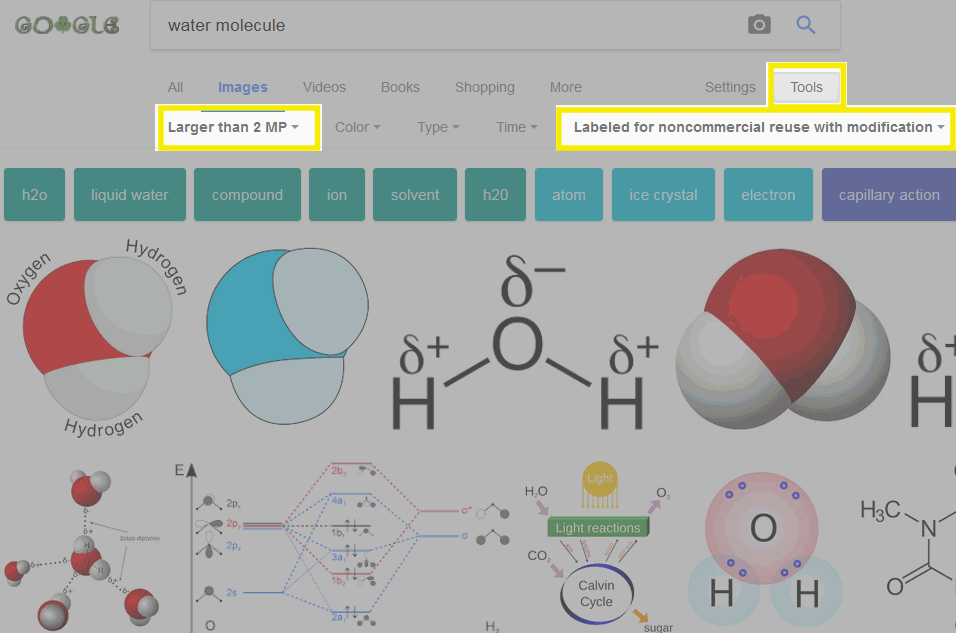
Finding images
Some images you may want to create, others you may want to find “stock” images and use those. Below I’ll explain how I draw images, but here is a way to find existing royalty-free images using Google.
- Conduct an image search using keywords that you think will bring up images you are looking for.
- When you see your first page of returns, click the Tools link on the right side below the search icon. This will open some advanced searching tools for you to use. You probably want to use:
- Size. Try for larger than 2MB, so they won’t look pixelated in your video.
- Usage rights. Here there are several options. I usually use “Labeled for noncommercial use with modification.”
- Find the image you like and save it in a folder for images you will use in videos.
Creating images
Here are some programs/websites I use:
- Creating your own image from scratch, or modifying an existing image: I’ve been a fan of Corel PaintShop Pro since it was made by a company called Jasc. They offer education pricing that is pretty decent (right now it’s $40). You will want something can can do ‘vector drawing,’ which allows you to draw arrows, shapes, etc. and manipulate them to get the right size and position.
- I use the PNG format for my images, and make them large enough so they don’t pixellate in the video rendering.
- Web sites. Once you find an image, you can either save a screenshot of it, or, some sites allow you to download the image. I’ll add more here as I use them and remember them, but here’s a few to start with:
- Chemistry: molview.org This is an amazing website that is ‘HTML5’ based, so you can use it on any platform, even iPads. You type in a chemical formula (or name), and it will give you both a structural formula diagram and a 3D model that you can spin into whatever angle works best for you.
- PhET simulations: Colorado University, Bolder offers an amazing array of STEM simulations. You may be able to find something here that will work for you.
- Screen capturing. Whatever your device, you can capture an image of a portion of your screen. Here are some resources for Windows and Mac. Make sure you learn how to capture just the portion of your screen you want to save.
Options for creating your video
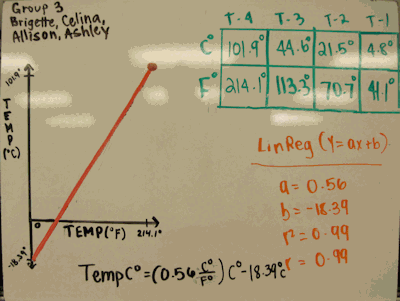
1. Video taping a whiteboard
This may be the easiest to produce. I just put together a couple of ring stands that would hold my phone camera at the right height to capture all of a small whiteboard. Once I have my outline together, I just put a whiteboard in the space, hit record on the phone, and start drawing and talking.
Sometimes I would make mistakes and have to start again, but for a 2-3 minute video this isn’t too much of a hassle.
Be creative: Use colored magnets or other items you can move around to represent objects moving, instead of having to draw everything.
2. Screen Capturing
Once you pick a screen capture video software, start assembling the variations in images you want.
What I found worked well was, before I start my screen capture, to walk my way through all the steps I wanted to make, front first image to last. Then I “undo” all of the steps, and get ready to record. Once the software is recording the screen, I hit ‘redo’ whenever I want the show the next step, narrating all the time (make sure your software has enough undo/redo steps available; you may have to go into its settings to increase this number).
- This method does produce a bit of a jumpy film, since each ‘redo’ puts the object you are moving in its new place, without showing the movement between those locations. Depending on the complexity of your movements, you may want to just go ahead and move them manually as you narrate your video.
3. Video editing software
I’ve been using this more often recently. I coughed up the bucks for a decent video editing software (again, I went with a Corel product–Video Studio Pro–because they tend to have professional features but cost less than many video editing programs). If you’re working on a Mac, I hear good things about iMovie (and the kids certainly seem to like it). I believe you can even create and edit a video on an iPhone, without ever going to a laptop/desktop computer). There are also many video editing apps for Android phones/tablets, but I haven’t used any of them.
With most video editing processes, you will
- First edit the video (adding images, video clips, sound, titles, transitions) and save your work as a ‘project.’ You haven’t created the final video yet, you’ve just told the program all the pieces you want.
- After you have your project ready, the software will ‘render’ the video into the final format that you can play, upload to YouTube, etc. Depending on the speed of your machine, this rendering make take more time than the actual video. It is in this rendering process that all the ‘frames’ of the movie are created, including creating blended images between two images/clips.
Your video editing software should allow you to
- Add images and determine how long they will display (3 s, 8s, etc.)
- Add transitions between images (I like a ‘dissolve’ or ‘fade’ transition so one image gets slowly replaced by the next).
- Add a music and/or vocal track.
- Add introductory titles and ending ‘credits.’
And some optional but time-saving features include
- Drag images and clips to anywhere in the timeline you desire (I think most feature this).
- Render (the final saving of your video) in multiple formats. You may want to produce an MP4, or a MOV.
- Create templates so you don’t have to remember all the steps you used last time to create credits, sounds, etc.
- Some will let you link your YouTube/Vimeo account and the program will automatically upload your movie after it renders it (although I avoid this–I have made enough mistakes in my ‘final’ versions that I know that I may have to make the changes and re-render the video.
I hope this helps. If you have any questions or contributions, please add them in the Comments section below.
Quite on the set: 5, 4, 3, 2, 1 Rolling!
Reader submitted additions
Online resources
- Convert videos for free online at Online-convert.com (thanks to Nanette Fladung)
- “This MP4 converter lets you easily convert files to the MP4 format. Upload your video file or provide a link to a video file to convert your video online to MPEG4. This high quality MP4 conversion tool is optimized for high quality and is free to use.”
Sample teacher work
- Videos can be very useful for labs that are difficult for absent students to make up. Here’s a great video showing a lab for students who missed a Stream Table lab. Notice how the teacher ask questions throughout the lab, in addition to adding commentary to help students see what is happening (thanks to Nanette Fladung).